


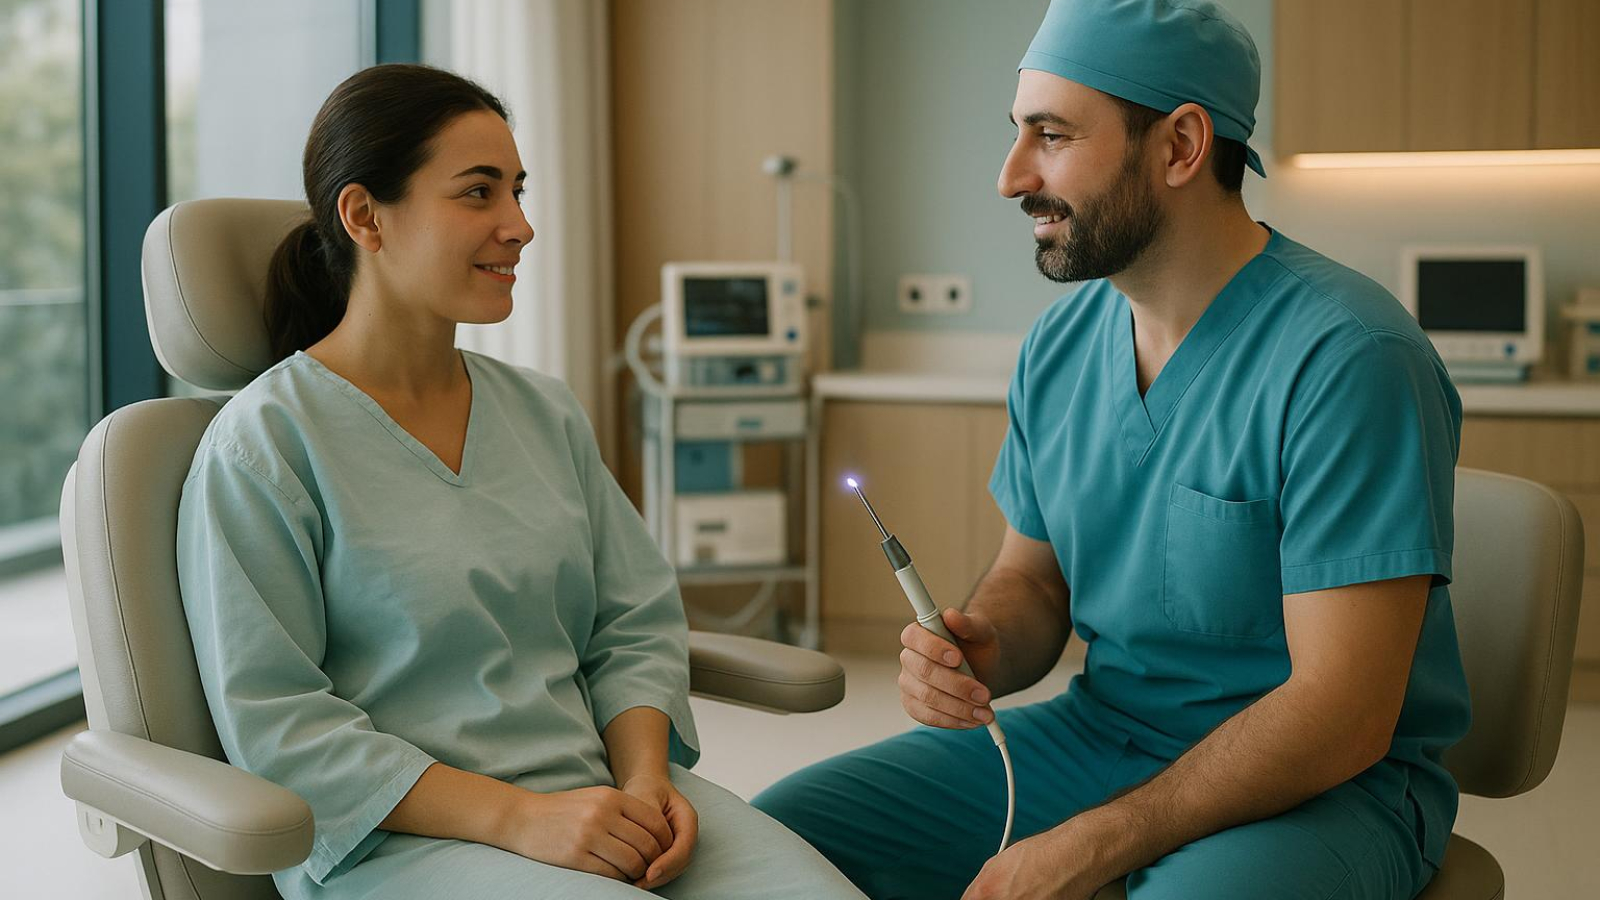
Your j plasma arm liposuction procedure day begins with a calm clinic check-in, pre-op markings, and twilight sedation. The surgeon performs precise liposuction followed by J-Plasma skin tightening through tiny incisions. You wake in recovery, receive your custom compression garment, and return to your hotel for supported rest — all guided by your Clinic Wise team.
Arm Liposuction with J-Plasma: Step-by-Step Procedure Day Guide
You have booked your j plasma arm liposuction procedure. The dates are set. The flights are confirmed. Now the practical questions take over — what actually happens when you walk through the clinic doors? Knowing the rhythm of the day replaces uncertainty with quiet confidence. This guide walks you through every step, from the moment you arrive at Clinic Wise to the moment you slip into your compression garment and settle into recovery.
Before You Arrive: The Night Before and Morning Of
Preparation starts the evening prior. You will receive clear fasting instructions — typically no food or drink after midnight. Your Clinic Wise patient coordinator will have already shared a packing list: loose, button-front clothing (no pulling over the head), slip-on shoes, and any prescribed medications in their original packaging.
Morning of surgery, shower with the antimicrobial wash provided. No lotions, deodorants, or jewellery. A light walk helps circulation. Your driver — arranged by the clinic — collects you from your hotel at the agreed time. The ride is short, the atmosphere calm.
Key Takeaway: Fasting, antimicrobial shower, and loose clothing are your three non-negotiables the morning of surgery. Your Clinic Wise coordinator confirms every detail the night before so you wake ready.
Step 1: Clinic Check-In and Final Consultation
You enter Clinic Wise through a private patient entrance. No crowded waiting rooms. A dedicated nurse greets you, checks your ID, and guides you to your private suite. Vitals are taken — blood pressure, temperature, oxygen saturation. You change into a clinic gown and compression stockings (to support circulation during surgery).
Your surgeon visits for a final review. They confirm the surgical plan, answer last-minute questions, and mark your arms with a surgical pen while you stand. These markings map the liposuction zones and J-Plasma entry points — usually tiny access sites hidden in the axilla (armpit) or medial elbow crease. You sign the final consent form. Photos are taken for your confidential medical record.
Key Takeaway: Private suite, standing markings, and a final surgeon conversation — this is your moment to voice anything on your mind. No question is too small.
Step 2: Anaesthesia — Comfort Without General Anaesthetic
You walk (or are wheeled) to the operating theatre. The team introduces themselves — surgeon, anaesthetist, scrub nurses. Monitors attach painlessly. For the j plasma arm liposuction procedure, most patients receive local anaesthesia with sedation (twilight anaesthesia). You breathe independently, feel no pain, and drift in a relaxed, dreamy state. The anaesthetist stays beside you throughout, adjusting depth as needed.
If you or your surgeon prefer general anaesthesia for medical reasons, that option exists — but the vast majority of arm contouring cases proceed beautifully under twilight sedation, offering faster wake-up and less post-op grogginess.
Key Takeaway: Twilight sedation means you are comfortable, breathing on your own, and wake quickly. Your anaesthetist is dedicated solely to you for the entire case.
Step 3: The Procedure — Liposuction Then J-Plasma Tightening
Once you are sedated, the surgeon infiltrates the marked areas with tumescent solution — a saline mix with lidocaine (numbing) and epinephrine (to minimise bleeding). This fluid makes fat easier to remove and keeps you comfortable post-op.
Phase one: Liposuction. Through the tiny incisions, a fine cannula loosens and removes targeted fat deposits. The surgeon sculpts with an artistic eye — preserving natural contours, addressing asymmetry, creating a smooth taper from shoulder to elbow. This is not bulk removal; it is refinement.
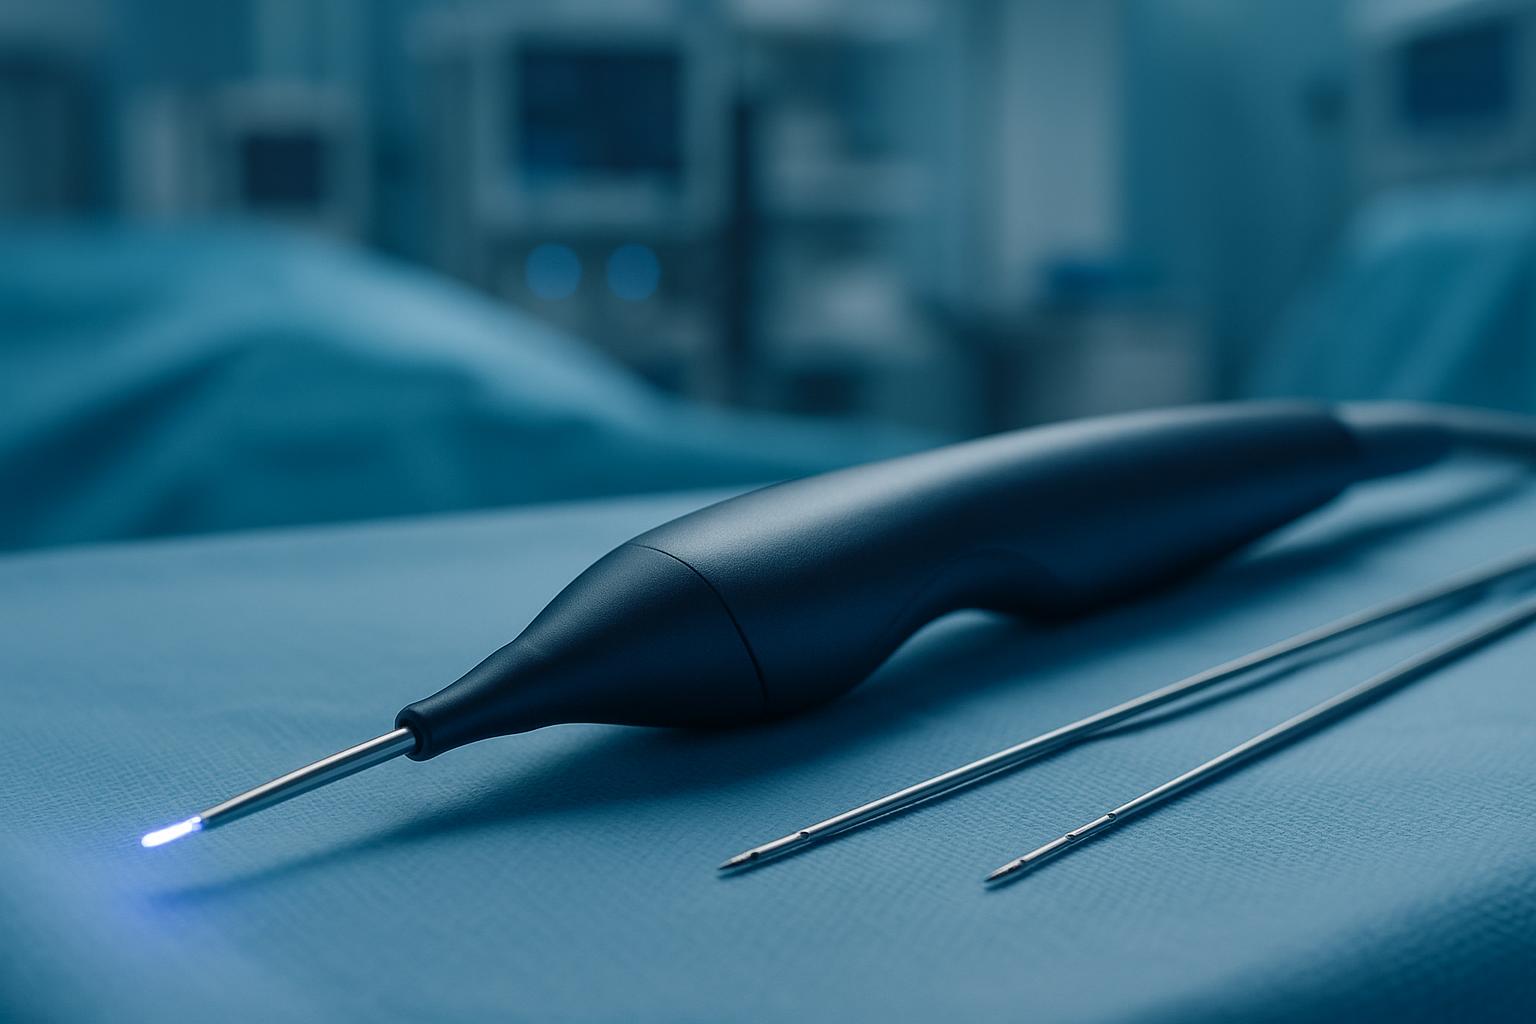
Phase two: J-Plasma skin tightening. This is where renuvion arm lipo distinguishes itself. The surgeon inserts the J-Plasma handpiece through the same incisions. Helium gas is energised into cold plasma — a precise, controlled beam of thermal energy delivered under the skin. As the device is withdrawn, the plasma creates immediate tissue contraction and stimulates neocollagenesis (new collagen formation) over the coming months. The surgeon treats the entire treated zone in a systematic pass, watching real-time skin response.
The dual action — fat removal plus energy-based tightening — addresses the two pillars of arm contouring: volume and laxity. The incisions are so small they typically require a single absorbable suture or simple steri-strips.
Key Takeaway: Liposuction sculpts; J-Plasma tightens. Both happen through the same micro-incisions in a single anaesthetic. The helium plasma energy is delivered subdermally with millimetric precision.
Step 4: Recovery Room — The First Hour
You wake gradually in a quiet recovery bay. A nurse monitors your vitals, offers water when you are alert, and checks your dressings. Your arms are wrapped in soft, absorbent pads and the first layer of your compression garment. Most patients feel drowsy but comfortable — soreness is typically mild, more like a deep bruise than sharp pain.
Your surgeon visits before discharge. They review the procedure, confirm drain placement (if used — not always needed for arms), and give immediate aftercare instructions. You receive a written post-op packet with medication schedule, garment protocol, and emergency contact numbers.
Once you are stable, drinking fluids, and mobile with assistance, you are cleared to leave. Your driver returns you to your hotel — usually within three to four hours of arrival at the clinic.
Key Takeaway: You wake in a calm bay, arms comfortably compressed, surgeon checks you personally. Discharge happens only when you are ready — never rushed.
TL;DR — Your Procedure Day at a Glance
- Morning: Fast, antimicrobial shower, loose clothes, clinic transfer
- Check-in: Private suite, vitals, standing markings, final surgeon chat
- Anaesthesia: Twilight sedation (local + IV) — awake but comfortable
- Surgery: Tumescent infiltration → liposuction sculpting → J-Plasma tightening
- Incisions: 2–4 mm in armpit/elbow crease, minimal closure
- Recovery: 1–2 hours monitored, compression applied, surgeon sign-off
- Return: Hotel transfer, rest, medications started, coordinator check-in
Step 5: Back at Your Hotel — The First 24 Hours
Your Clinic Wise patient coordinator messages you within the hour. They confirm you have settled, answer questions, and remind you of the medication schedule — usually a short course of antibiotics, anti-inflammatories, and mild analgesics as needed.
You will sleep semi-upright (extra pillows or a recliner) to minimise swelling. Cold packs (wrapped, never direct on skin) can be applied to the upper arms for comfort. Movement is encouraged — gentle walks around the room every hour or two promotes circulation and reduces clot risk. Hydration is key; sip water steadily.
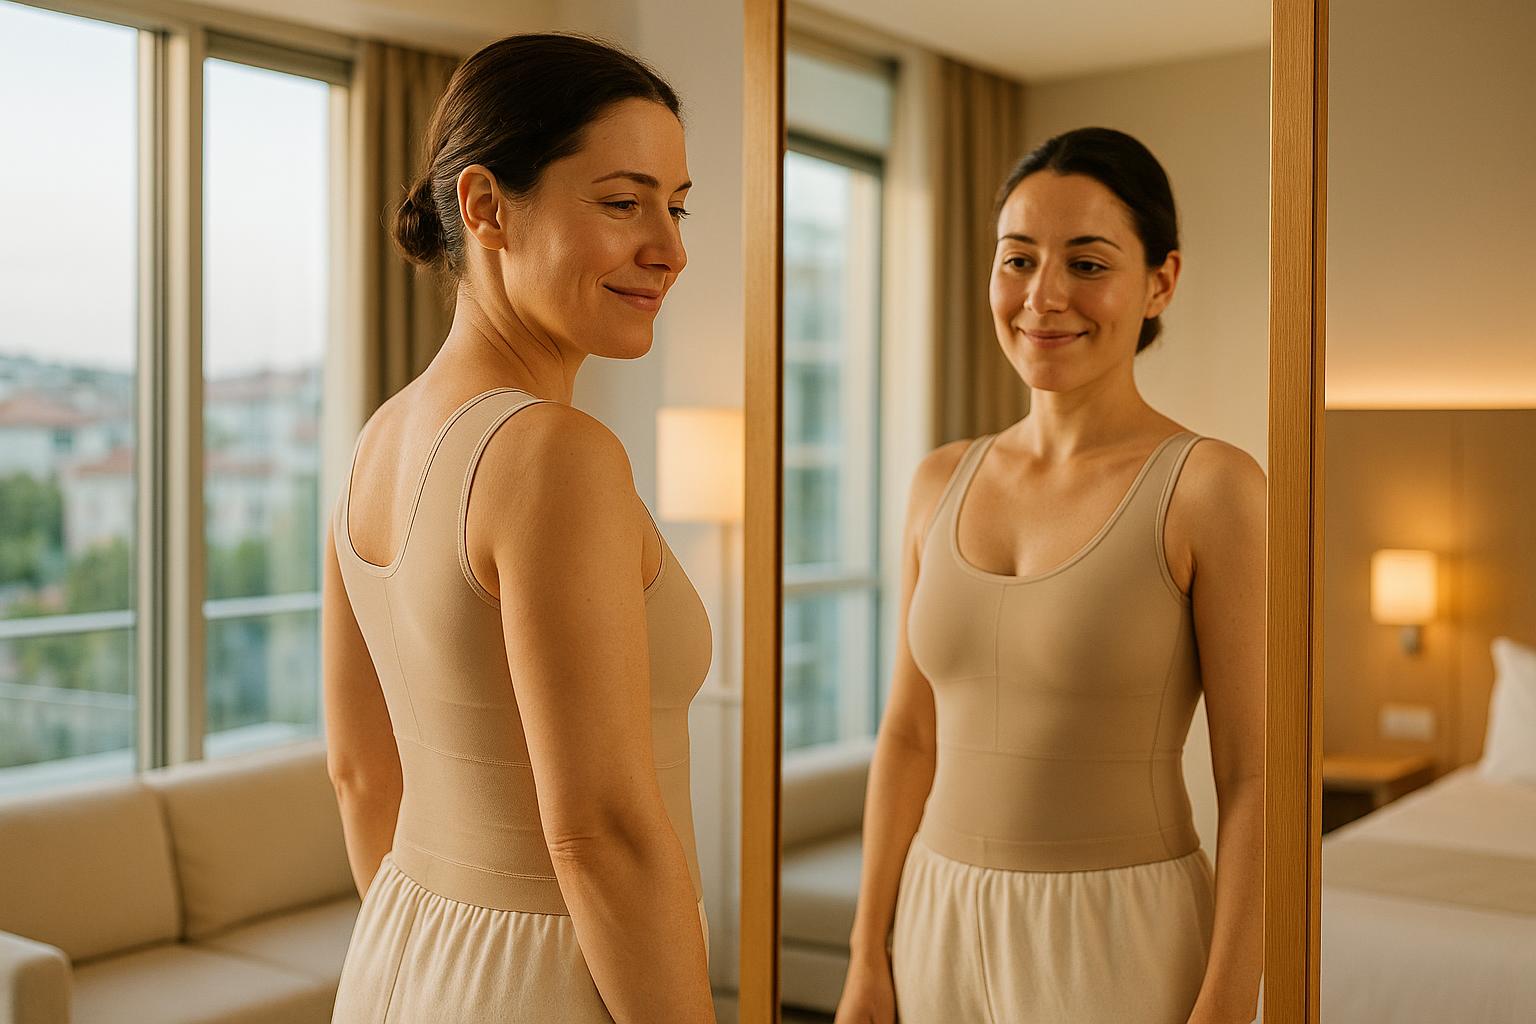
Your compression garment stays on 24/7. It may feel snug at first — that is intentional. It limits fluid accumulation, supports the newly contoured tissues, and reduces the “heavy arm” sensation many patients describe.
Key Takeaway: First night: upright sleep, hydration, gentle movement, garment on. Your coordinator is a message away. Most patients report the night is easier than expected.
Step 6: Post-Op Day One — Your First Follow-Up
Morning brings your first clinic revisit. The nurse removes outer dressings, inspects incision sites, and checks garment fit. If drains were placed, output is measured and they may be removed today or at day two. Your surgeon examines the contours, confirms symmetry, and adjusts aftercare if needed.
This visit is also your chance to ask about showering (usually permitted at 48 hours with waterproof dressings), garment washing (hand wash, air dry — have a spare), and activity progression. You leave with updated instructions and a clear sense of the week ahead.
Key Takeaway: Day-one check is reassurance in person. Incisions are inspected, drains managed, questions answered. You walk out with a plan, not guesswork.
Your Recovery Timeline — What Comes Next
Understanding the j plasma recovery timeline helps you pace your return to normal life. Here is the general arc — your surgeon personalises this at each follow-up.
- Days 1–3: Swelling peaks, bruising appears (often tracking toward elbow), garment 24/7, upright rest, short walks.
- Days 4–7: Swelling plateaus then softens, bruising shifts colour, first shower (per surgeon), gentle arm movement encouraged.
- Weeks 2–3: Garment may transition to daytime only (surgeon decides), light activities resume, scar care begins (silicone gel/strips).
- Weeks 4–6: Most swelling resolved, contours refining, collagen remodelling from J-Plasma underway, gym clearance typically given.
- Months 3–6: Final skin tightening results emerge as neocollagenesis matures. Arms feel firmer, look more defined.
Every arm contouring surgery day marks the start of this journey. Patience with the process yields the refinement you chose this procedure for.
Key Takeaway: Recovery is phased, not linear. Swelling, bruising, and sensation changes are normal signposts — not setbacks. Your Clinic Wise team guides each phase.
Arm Lipo Aftercare Essentials — Setting Yourself Up for Success
The weeks after surgery are where your result is honed. These arm lipo aftercare essentials come directly from Clinic Wise surgical protocols:
- Garment compliance. Wear it exactly as prescribed. It is your single most influential non-surgical tool.
- Lymphatic massage. Usually started at week two with a certified therapist. Reduces fibrosis, smooths contours, accelerates swelling resolution.
- Scar stewardship. Once incisions are fully closed (typically 10–14 days), begin silicone-based scar therapy. Consistency matters more than brand.
- Sun protection. Treated skin is photosensitive for months. UPF clothing or mineral SPF 50+ on exposed areas — non-negotiable.
- Nutrition and hydration. Protein-rich meals, low sodium, ample water. Your tissues are rebuilding; give them the raw materials.
- Gradual return to movement. Listen to your body. Light stretching before resistance. Your surgeon clears specific exercises at each stage.
Patients who treat aftercare as part of the procedure — not an afterthought — consistently describe smoother recoveries and more refined outcomes.
Key Takeaway: Garment, massage, scar care, sun protection, nutrition, graded activity — these six pillars turn a good surgical result into a lasting one.
Preparing for Your Turkey Arm Surgery Journey
If you are still in the planning phase, turkey arm surgery prep begins long before departure. Clinic Wise provides a comprehensive patient journey guide covering visas, travel insurance with surgical coverage, companion arrangements, and a detailed packing list tailored to J-Plasma recovery.
Your dedicated coordinator schedules pre-op blood work (often done locally before you fly), reviews medical history, and aligns on aesthetic goals through virtual consultation. You arrive informed, prepared, and already connected to your care team.
Explore the J-Plasma treatment page for deeper technical detail, or browse the before & after gallery to see real patient outcomes. The patient stories section offers unscripted perspectives from people who stood where you stand now.
Key Takeaway: Preparation is a partnership. Clinic Wise coordinates medical, logistical, and emotional readiness so you arrive focused on your result — not the paperwork.
Conclusion: Your Procedure Day Is the First Step Toward Confident Arms
The j plasma arm liposuction procedure day is structured, supported, and surprisingly calm. From private check-in to twilight sedation, from precise liposuction to helium plasma
The actual surgical time typically ranges from one to two hours depending on the amount of fat being removed and the degree of skin tightening needed. Including prep and recovery room time, plan for a half-day at the clinic. Most patients undergo the procedure under local anaesthesia with sedation, sometimes called twilight anaesthesia. You remain comfortable and relaxed but breathe on your own. Your anaesthetist will discuss the best option during your pre-op consultation. Clinic Wise typically recommends staying in Turkey for five to seven nights after surgery. This allows your surgeon to monitor initial healing, manage drains if used, and ensure you are comfortable travelling. Your personal timeline will be confirmed at your post-op check. Incisions for both liposuction and J-Plasma are tiny — usually just a few millimetres — and placed in natural skin folds like the armpit or inner elbow. They heal into faint lines that most patients find barely noticeable over time. The garment feels snug but supportive, like a firm sports sleeve. It reduces swelling, helps skin adhere to new contours, and improves comfort. Most patients wear it full-time for three to four weeks, then transition to daytime-only use for another few weeks based on surgeon guidance.Frequently Asked Questions
How long does the j plasma arm liposuction procedure take from start to finish?
Is general anaesthesia required for arm liposuction with J-Plasma?
When can I fly home after my j plasma arm liposuction procedure in Turkey?
Will I have visible scars on my arms after J-Plasma arm tightening?
What does the compression garment feel like and how long do I wear it?

Turkey is a popular destination for BBL surgery operations applied for individuals who want to have a more effective buttocks. Read more

Weight Loss and Tummy Tuck Surgery Examine the impact of stomach tuck surgery on body contouring and weight loss. Discover Read more
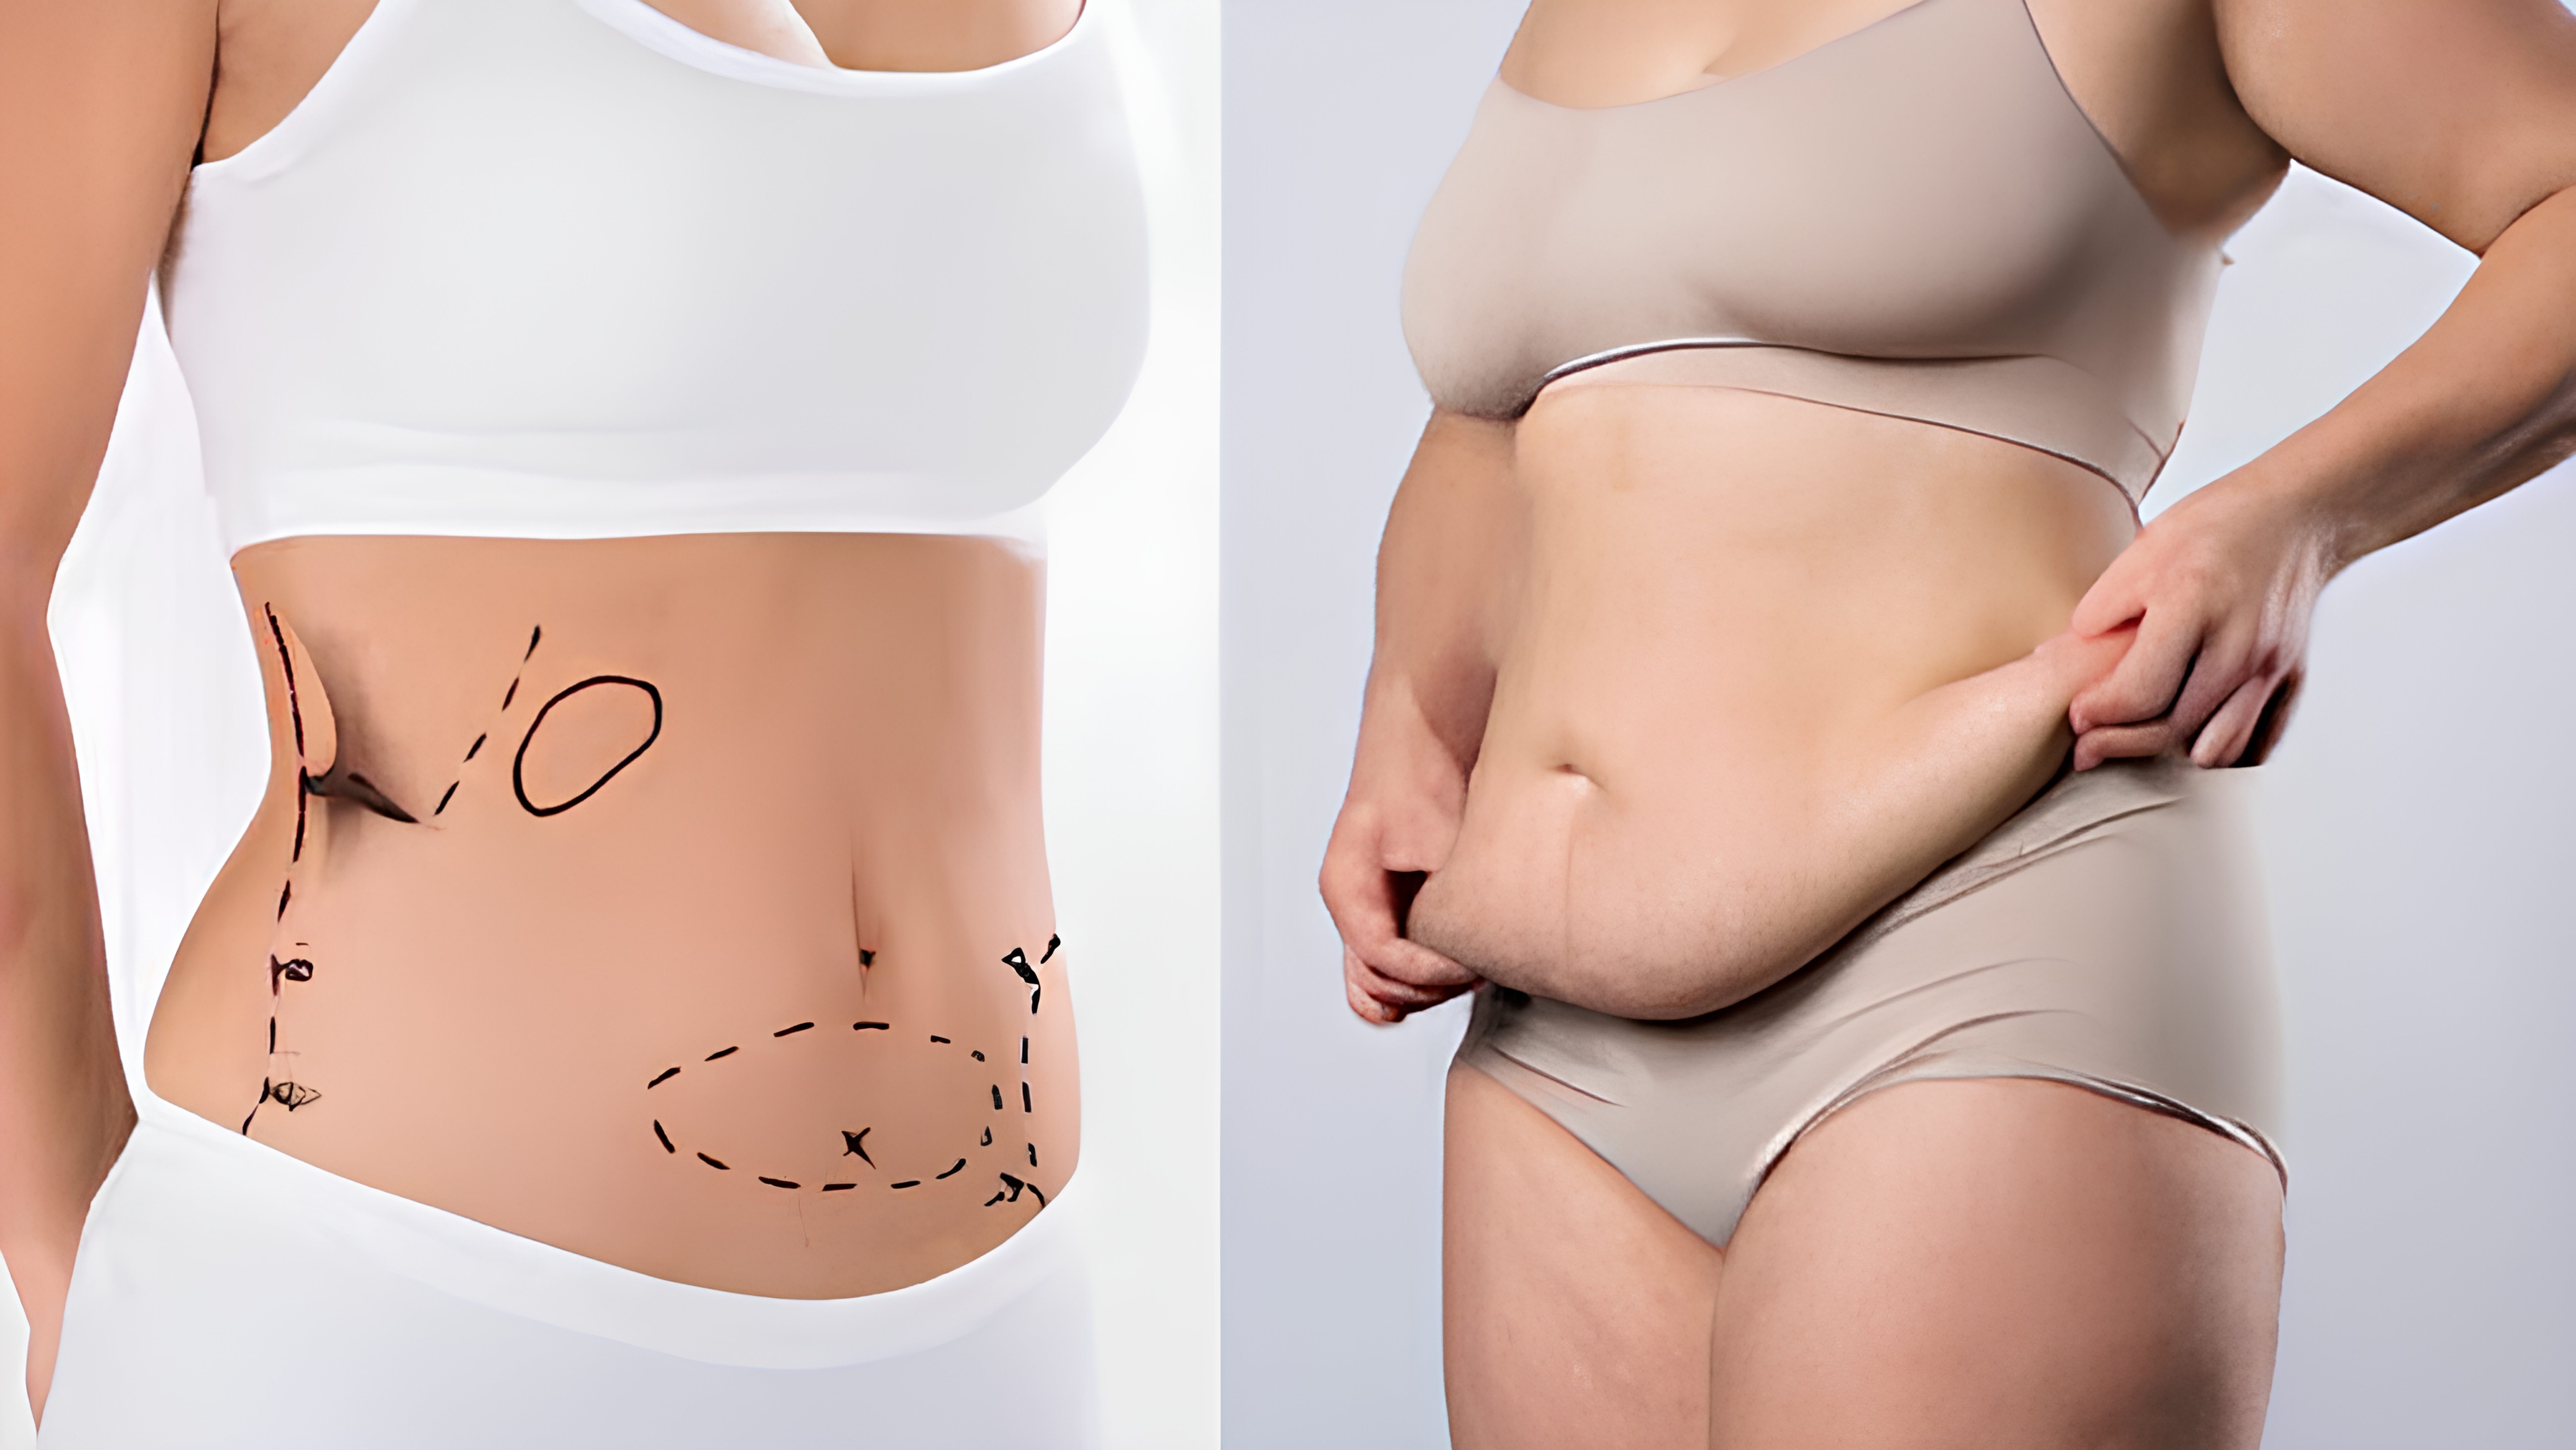
What is Tummy Tuck? Abdominoplasty, a tummy tuck, is an aesthetic surgical surgery used to enhance the physical appearance and Read more
Add a Comment